Paint can make or break a model. Get it right and everything comes together — here’s what I’ve learned about colour, primer and varnish.
The Colour of Success
The type
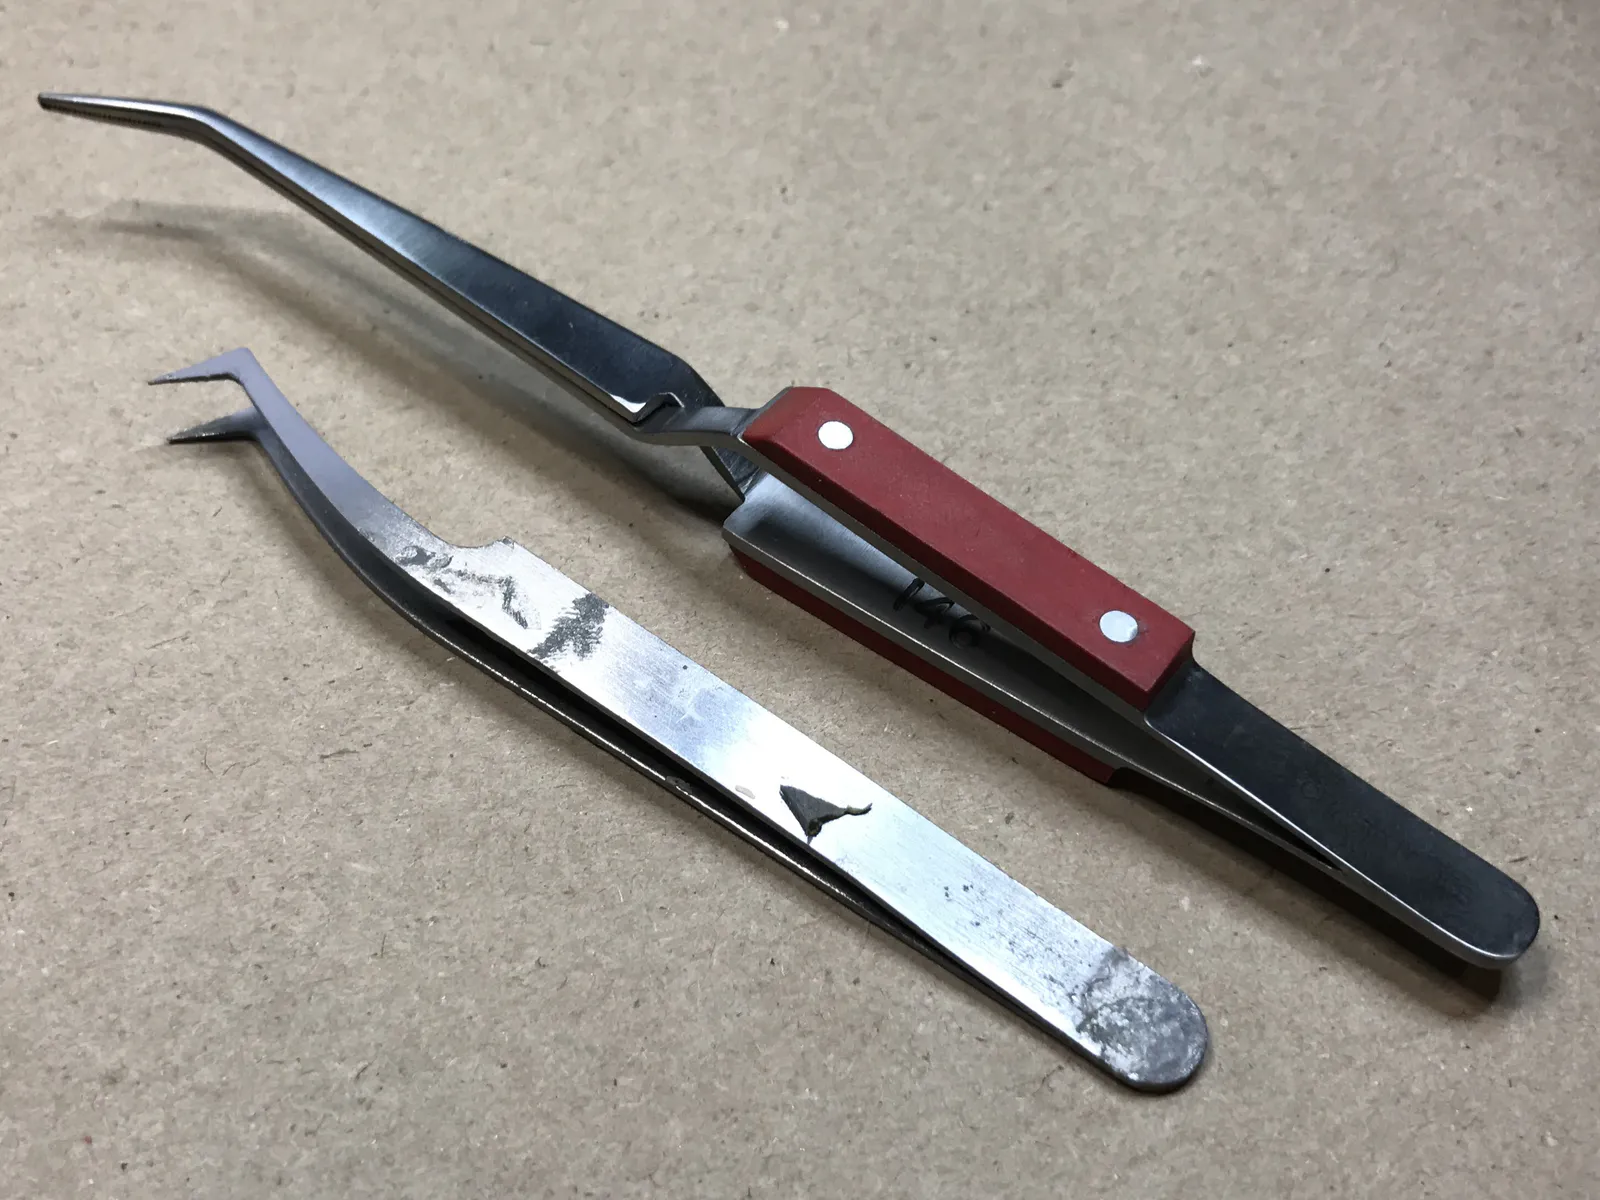
The knife — or better yet, a scalpel — is one of the most essential tools on your workbench, but it demands respect. It's easy to cut yourself, and equally easy to remove more material than you intended. That said, it's indispensable.
As my skills developed I replaced it with more specialised tools for many tasks — but there's always a scalpel within reach. Sometimes you just need to clean up something quickly in a less delicate spot, or nudge a stubborn decal into position.
As my skills developed I replaced it with more specialised tools for many tasks — but there's always a scalpel within reach. Sometimes you just need to clean up something quickly in a less delicate spot, or nudge a stubborn decal into position.
The brands
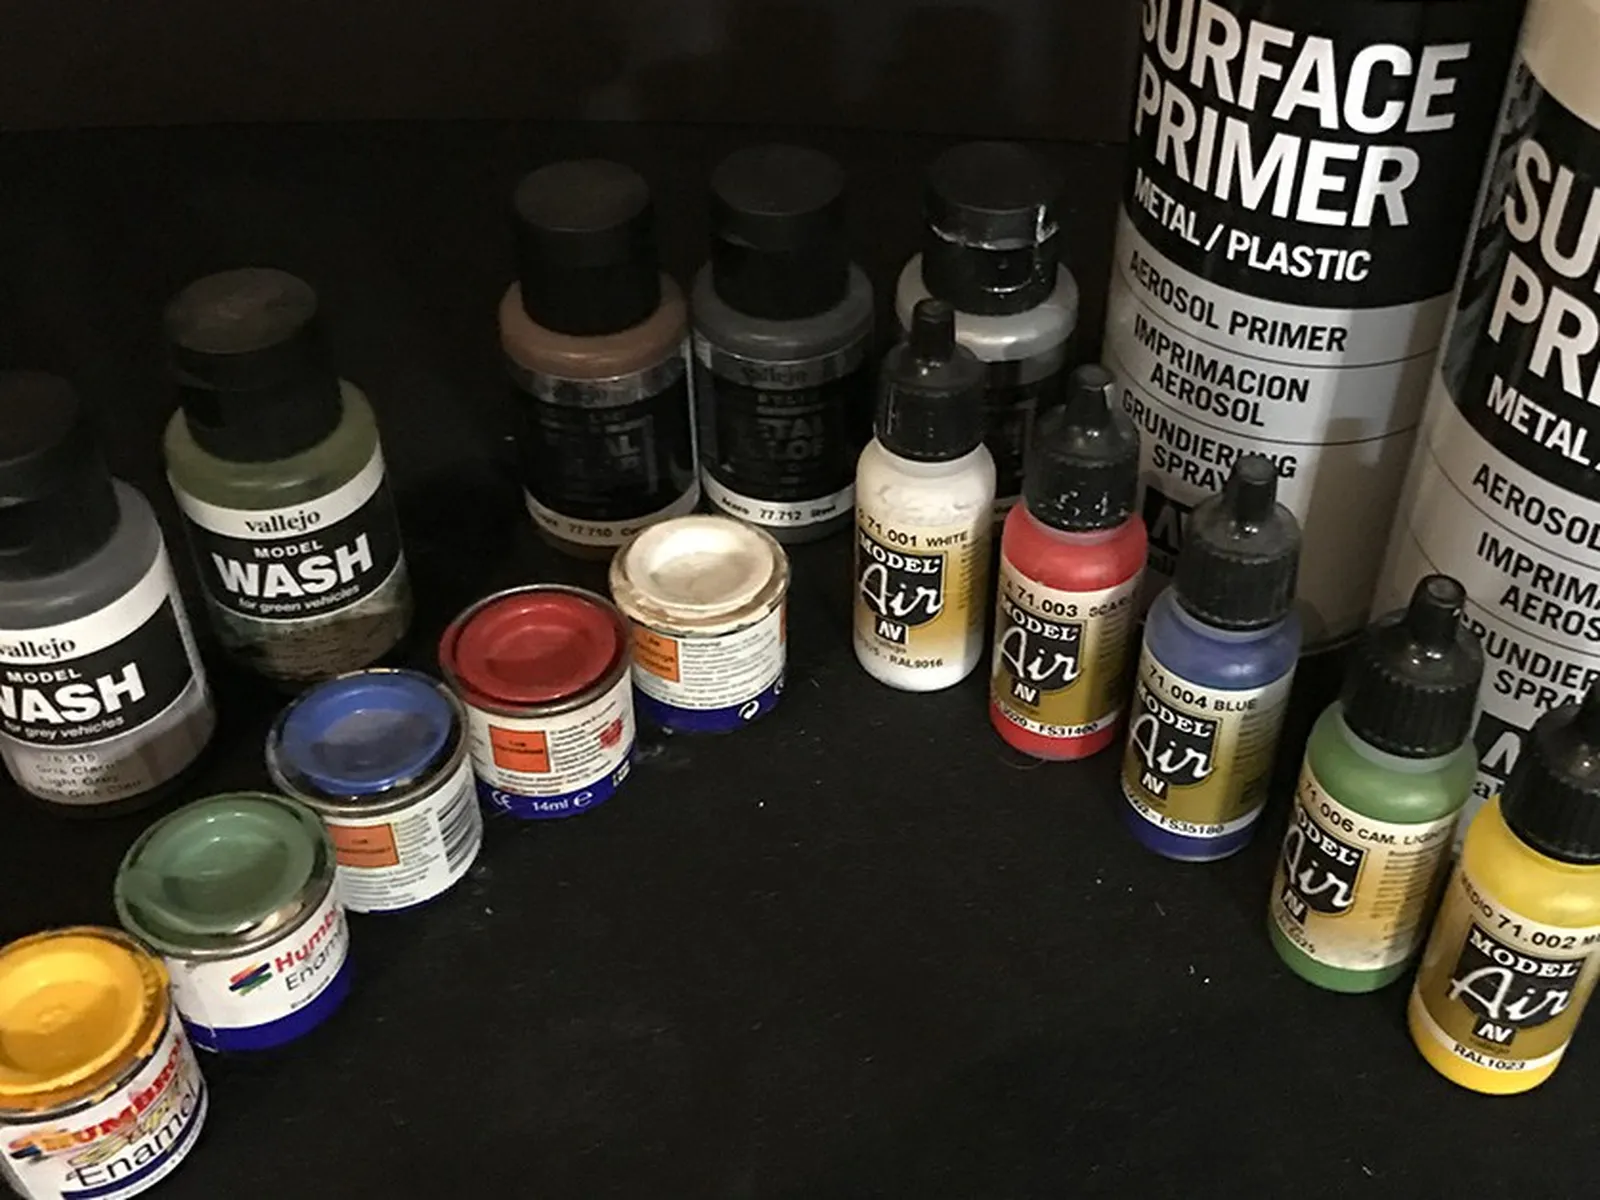
There are several brands to choose from, and in practice it's often your local hobby shop that makes the decision for you. Humbrol has been the dominant name in plastic modelling for decades, with their small tins of enamel paint a familiar sight on hobby shop shelves. Unfortunately changing toxics legislation has forced them to alter their formulas considerably, with mixed results.
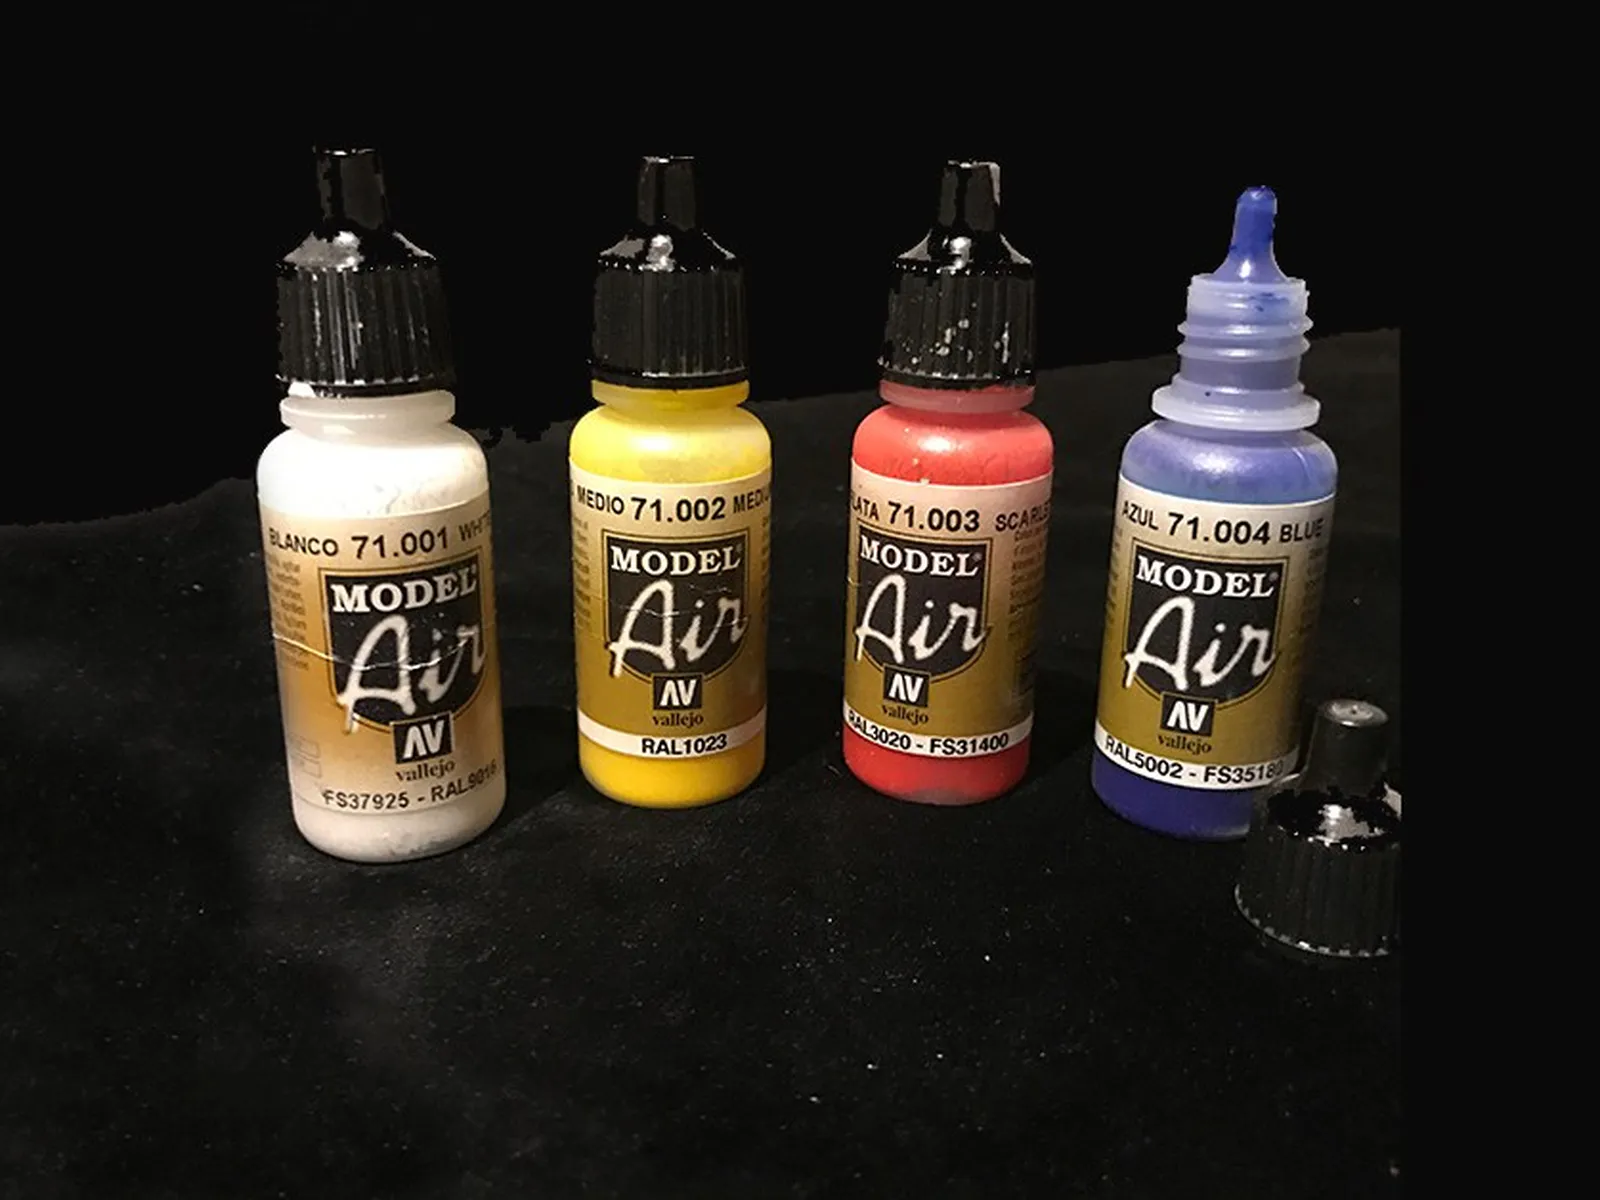
My own experience with brands like Tamiya, Gunze, Testors and Revell is limited. My local dealer stocked Vallejo, and predominantly their Model Air range — paint specifically formulated for airbrushing, which suits me well as that's how I apply most of my colour. It can be used with a brush too, though it's better suited to smaller areas and touch-ups in that case. Vallejo also have a Model Color range better suited to brush painting, but maintaining a reasonable selection of both is an expensive undertaking. One thing I particularly like about Vallejo is the dropper bottle — it makes measuring out paint easy and keeps spillage to a minimum. The brand MIG works on the same principle and is equally good.
My own experience with brands like Tamiya, Gunze, Testors and Revell is limited. My local dealer stocked Vallejo, and predominantly their Model Air range — paint specifically formulated for airbrushing, which suits me well as that's how I apply most of my colour. It can be used with a brush too, though it's better suited to smaller areas and touch-ups in that case. Vallejo also have a Model Color range better suited to brush painting, but maintaining a reasonable selection of both is an expensive undertaking. One thing I particularly like about Vallejo is the dropper bottle — it makes measuring out paint easy and keeps spillage to a minimum. The brand MIG works on the same principle and is equally good.
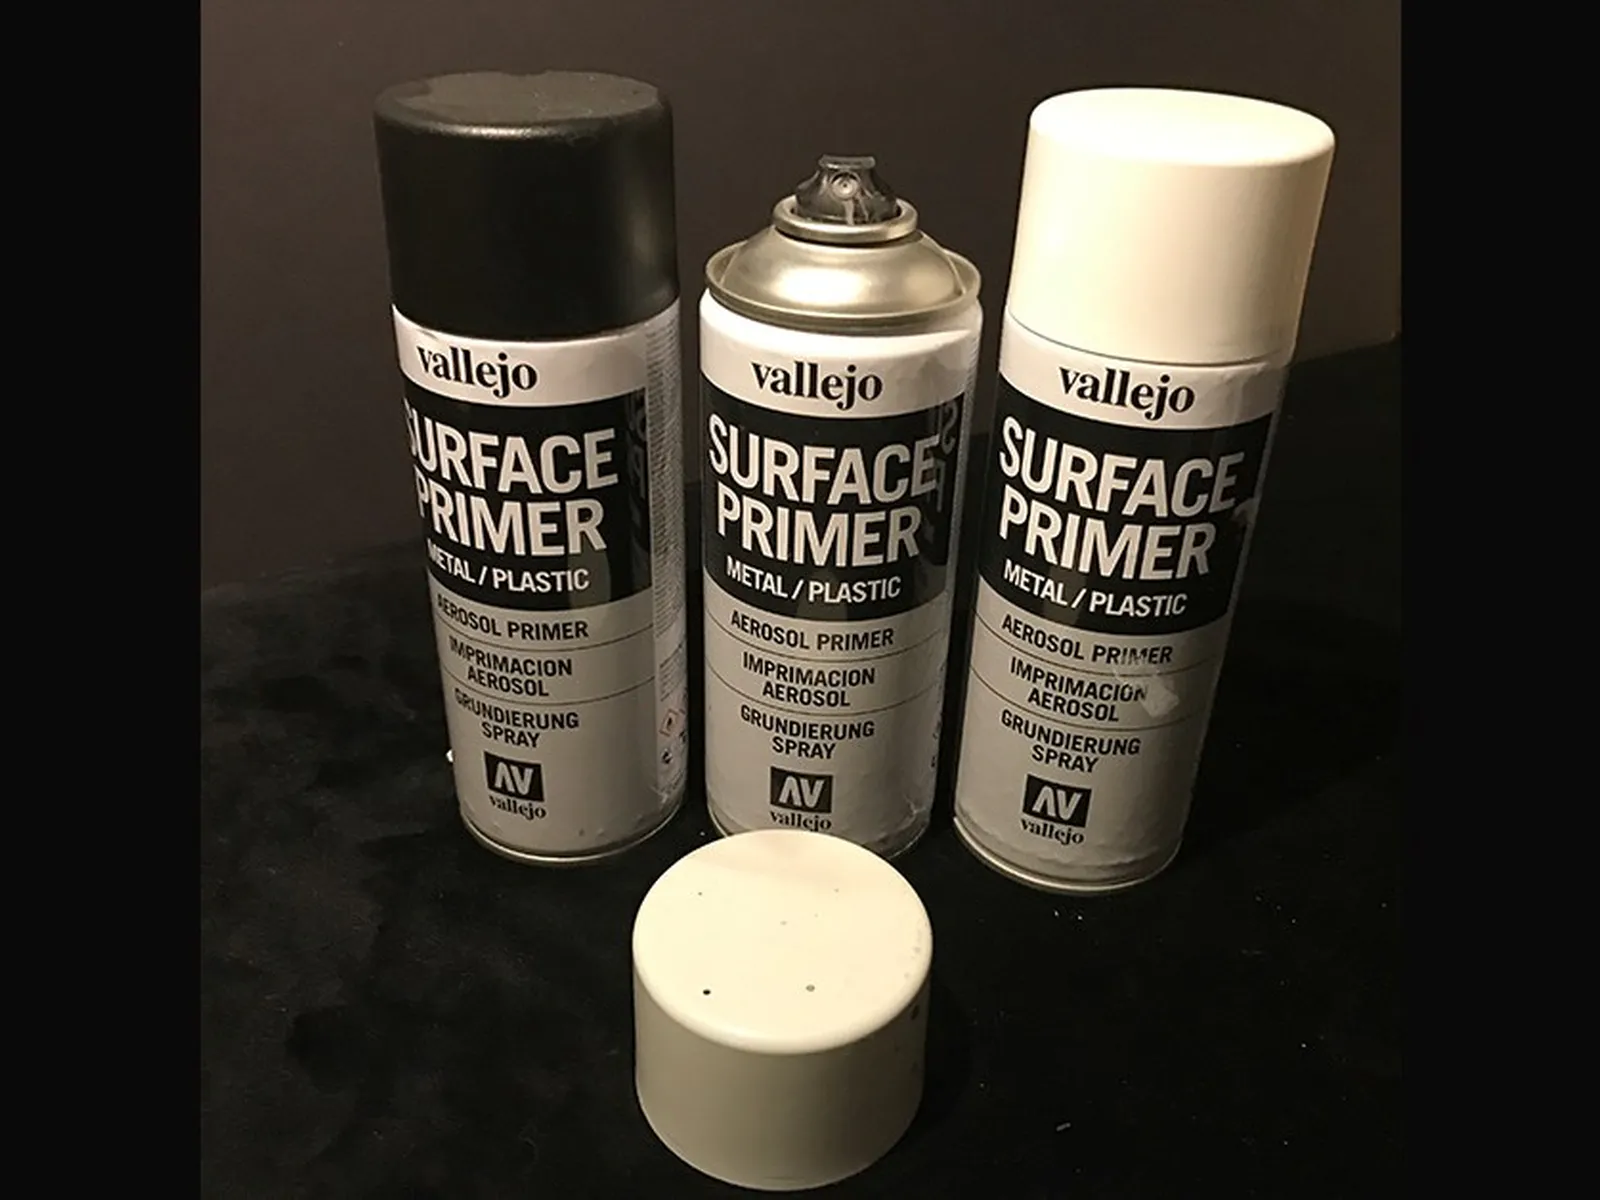
The primer
Primer is a base coat applied to the entire model before painting, usually in light grey or white. If you're using acrylic paint it's essential — acrylics simply don't adhere well to bare plastic without it. But it's a good idea regardless of which paint type you use.
One of the great advantages of primer is that it makes blemishes immediately visible. Seams, glue marks and uneven surfaces that seemed invisible suddenly show up clearly under a coat of grey. Sometimes you'll need to prime, fix, and prime again before you're satisfied — but that's far better than discovering the problems after painting.
Beyond adhesion, primer gives the entire model a uniform base colour, which means you don't need extra coats of paint to cover the differences between plastic, putty and any other materials you've used.
For metallic finishes, gloss black primer is the better choice — it gives metal colours a depth and richness that grey primer can't match.
I find spray cans the easiest way to apply primer. Since it needs to cover the entire model evenly, an airbrush is more trouble than it's worth for this particular job.
The varnish
Varnish protects your paint, and there are three types to choose from — gloss, satin and matte. Which you need depends on the finish you're after, but the answer is rarely just one.
For the best result, plan on applying more than one layer at different stages of the build. When you're happy with the overall painting, seal the model with a layer of gloss varnish — even if you ultimately want a matte finish. The reason is decals. A matte surface is matte because it has a microscopically uneven texture, and that texture prevents decals from settling flat, often leaving air bubbles trapped underneath. A smooth, glossy surface gives decals the best possible base to adhere to. Once the decals are in place and fully dry, apply your final coat of varnish — gloss, satin or matte — to seal everything and give the model a consistent finish throughout. It also helps the decals appear more natural.
For the best result, plan on applying more than one layer at different stages of the build. When you're happy with the overall painting, seal the model with a layer of gloss varnish — even if you ultimately want a matte finish. The reason is decals. A matte surface is matte because it has a microscopically uneven texture, and that texture prevents decals from settling flat, often leaving air bubbles trapped underneath. A smooth, glossy surface gives decals the best possible base to adhere to. Once the decals are in place and fully dry, apply your final coat of varnish — gloss, satin or matte — to seal everything and give the model a consistent finish throughout. It also helps the decals appear more natural.
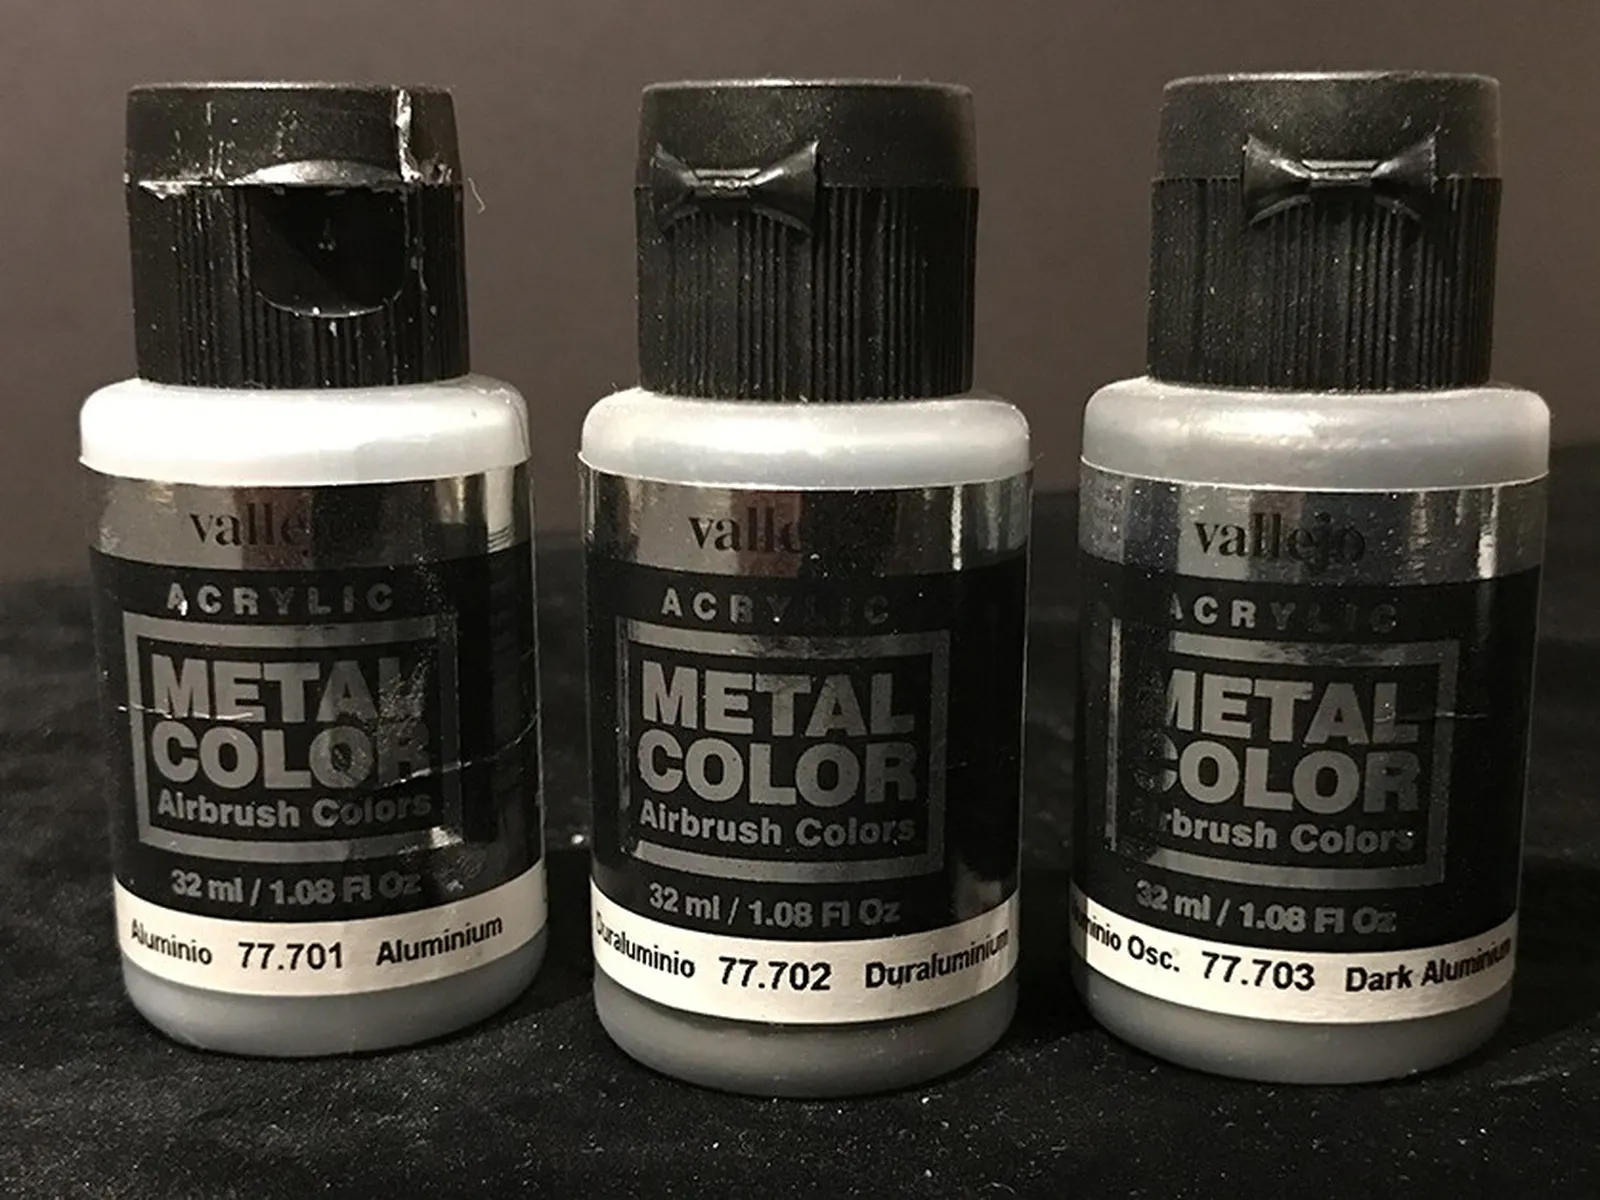
The metal paints
Painting a bare metal finish — like an unpainted aluminium aircraft — can produce stunning results if you're willing to put in the extra effort.
Start with a gloss black primer, as mentioned earlier. This gives the metal colours the depth they need. Then apply a base metal colour — aluminium, or whatever the instructions specify. But don't stop there. If you look at reference pictures of real aircraft, you'll notice that different panels have subtly different shades of metal, depending on age, replacement history and the angle of the light. Carefully mask off individual panels and give each one a slightly different metal shade. It takes time, but the end result is something that a single flat coat of silver simply can't achieve.
For this I prefer Vallejo's Metal Color range. They're thinner than many alternatives and give a particularly good finish.