Decals are one of the last steps — and one of the most satisfying. Get them right and they look like they were painted on. Here’s how.
Signed, Sealed, Delivered
The tools
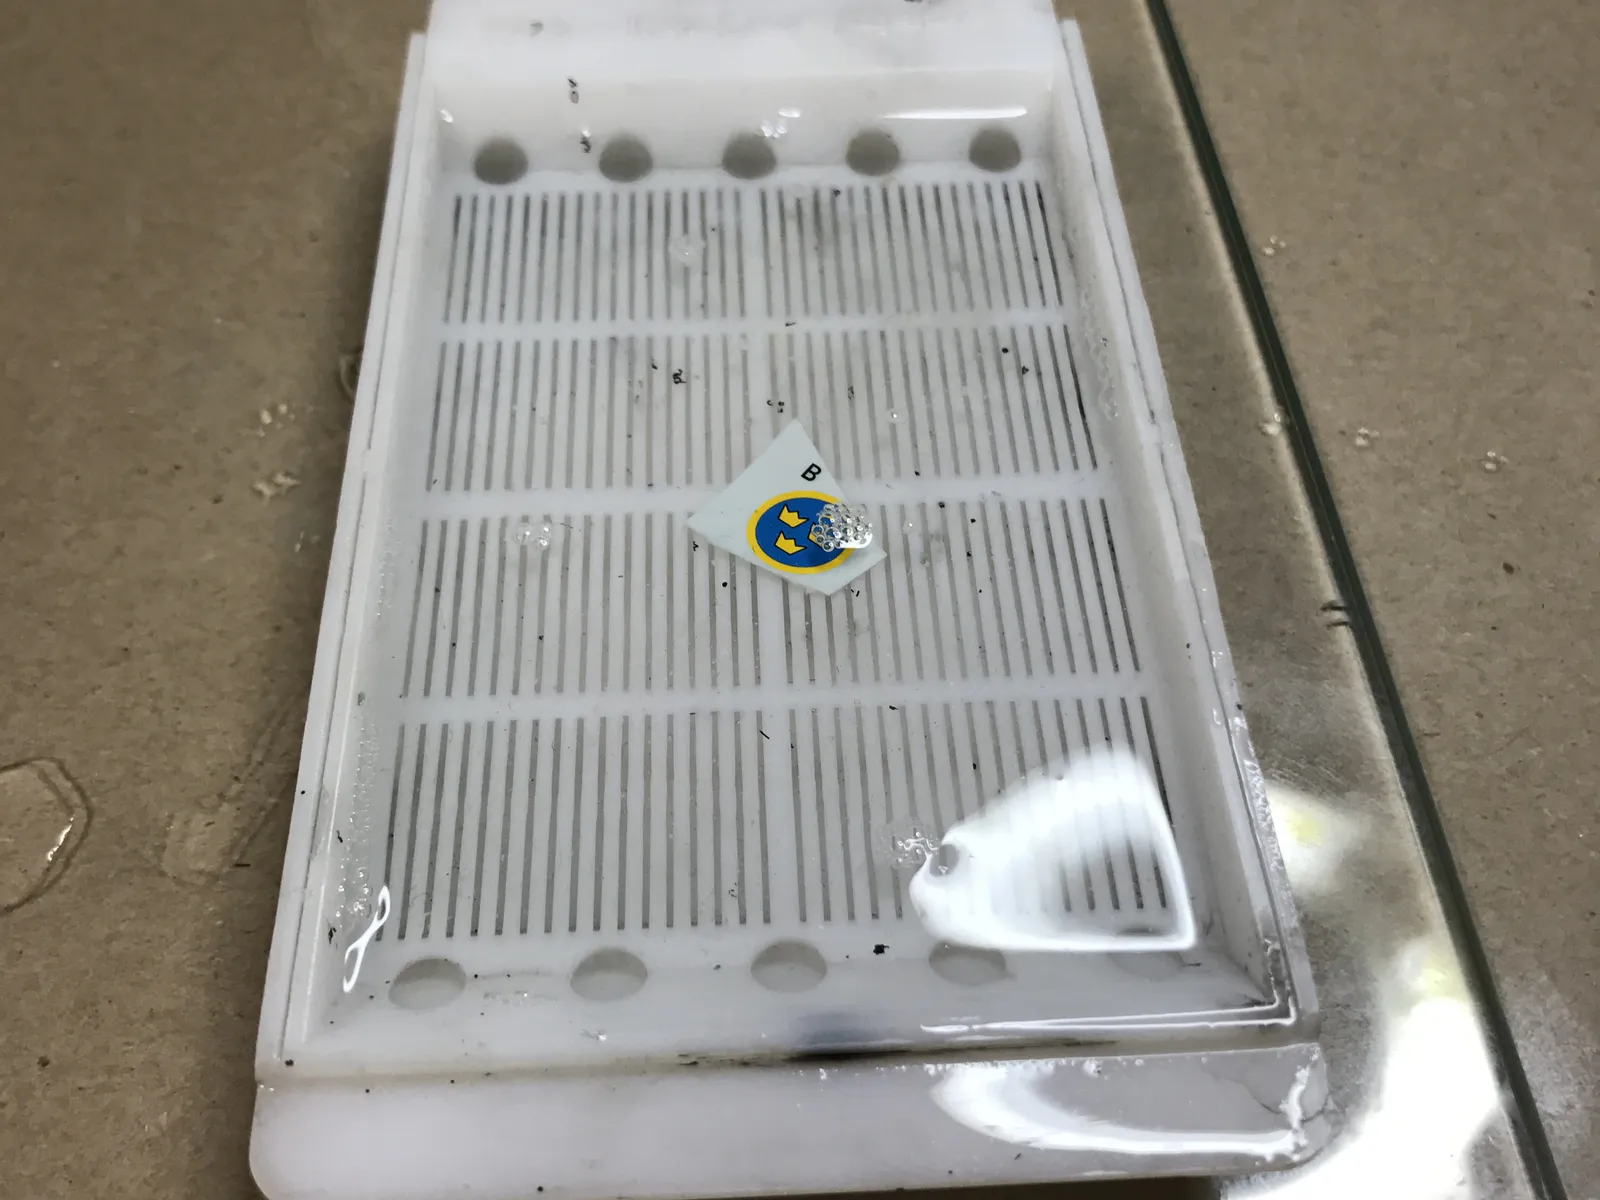
The essentials are simple. You need a tray of lukewarm water — if it cools down don't worry, it just takes a little longer for the decal to loosen. A drop of dish soap in the water helps by breaking the surface tension and making the decal easier to slide. Any tray will do, though Trumpeter make a dedicated decal tray that's quite practical.
Beyond that, a pair of scissors or a knife to cut out individual decals from the sheet, and a stiff brush for handling them on the model surface.
Beyond that, a pair of scissors or a knife to cut out individual decals from the sheet, and a stiff brush for handling them on the model surface.
The liquids
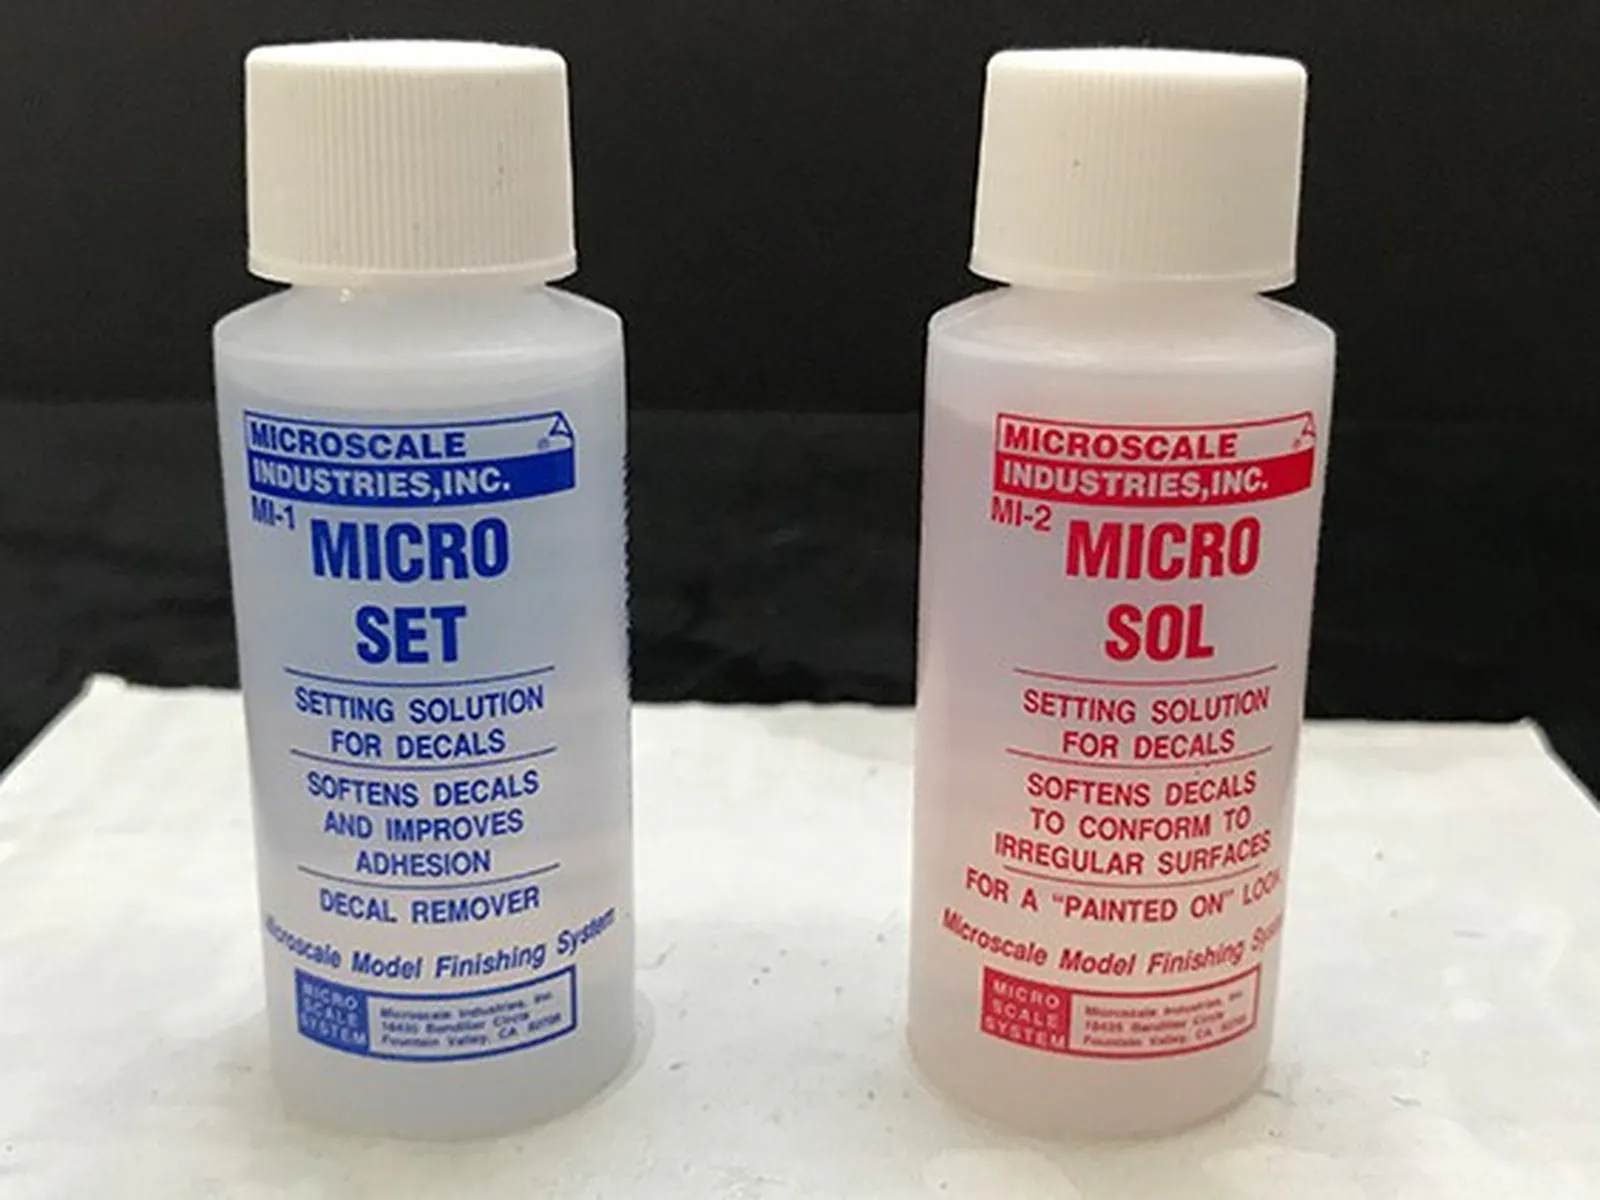
Water is the obvious one, but there are two more worth knowing about. My favourites are Micro Set and Micro Sol from Microscale Industries. They do different things. Micro Set improves the adhesion of the decal to the surface. Micro Sol softens the decal itself, allowing it to conform to uneven surfaces — panel lines, rivets, anything that would otherwise cause the decal to wrinkle or lift at the edges. More on how to use them in the next section.
The how
If you've read the painting section you'll know that decals adhere best to a gloss surface — so a coat of gloss varnish before you start is a good prerequisite. Any matte or satin finish you want can be applied afterwards.
Cut out the decals individually and handle them one at a time. Don't soak the entire sheet at once — there are too many ways that can go wrong.
Place each decal in the water for a few seconds until the paper is saturated, then set it aside on a flat surface until the decal begins to loosen. If you're using Micro Set, apply it to the model surface now with a brush. Be aware that it makes positioning trickier, so try to get the decal close to its final position before it touches down. Slide the decal off the paper and onto the model, holding the paper against the surface and carefully transferring it across.
Adjust the position with a scalpel — fingers tend to pick the decal up rather than move it, and cotton buds can be similarly unhelpful with smaller decals. If it gets stuck in the wrong place, a few drops of water will free it up again.
Once in position, dab firmly, but carefully, with a stiff brush to force out any air bubbles from underneath — pay particular attention to any transparent areas of the decal, where trapped air will be most visible.
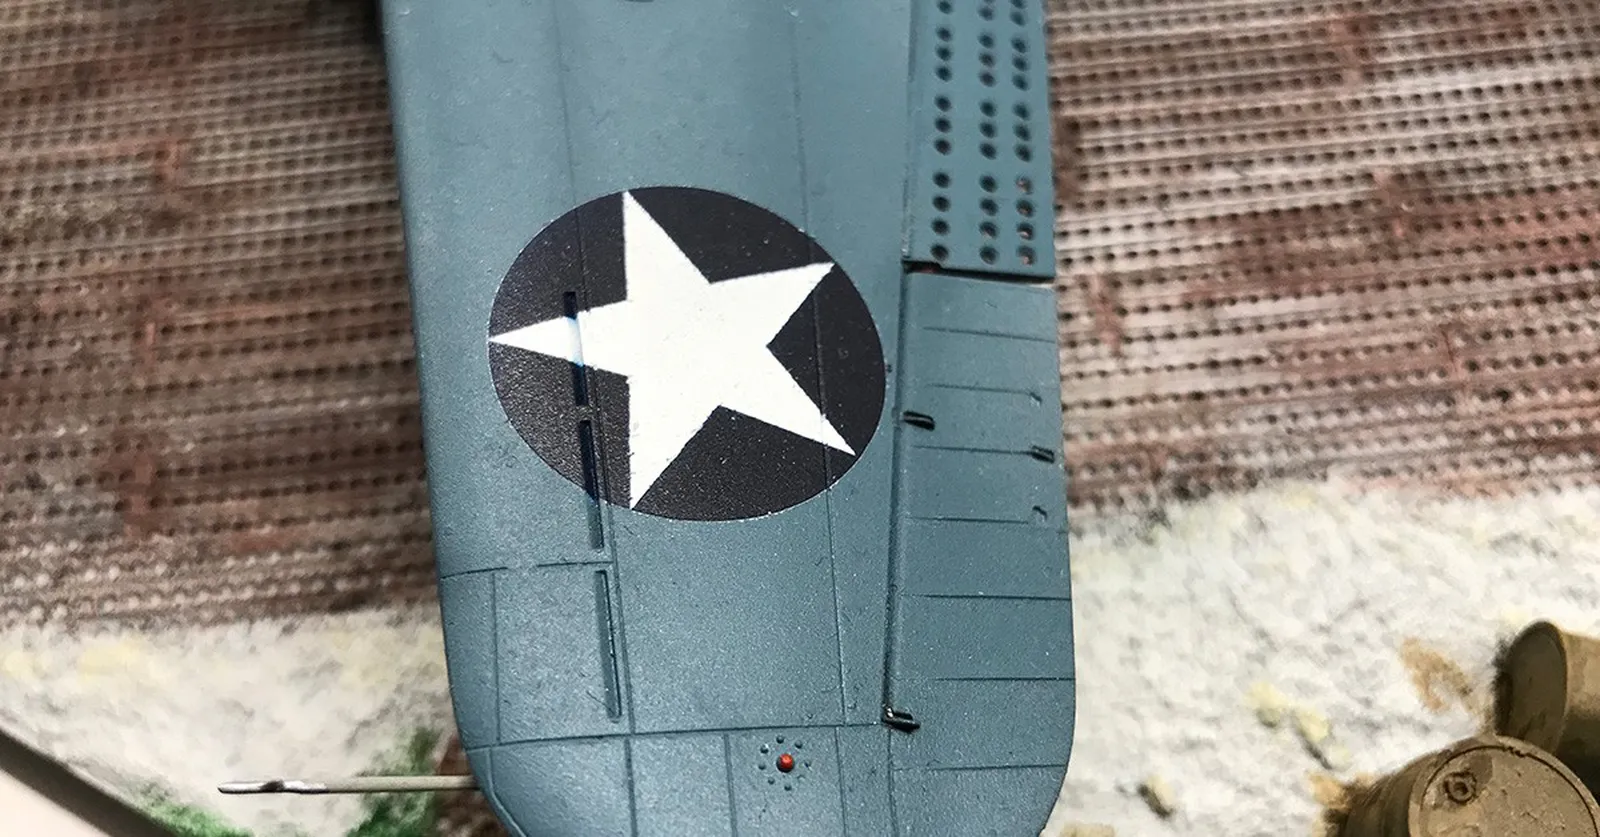
If the decal needs to conform to panel lines or other surface detail, this is where Micro Sol comes in. Make sure the decal is exactly where you want it, then apply Micro Sol with a brush and leave it. It will partially dissolve the decal, allowing it to sink into the surface detail. If one application isn't enough, repeat — but work gently and one step at a time. Overdoing it will cause the decal to come apart.
Finally, once all decals are in place and fully dry, seal everything with a coat of varnish. This protects the decals, ties them into the overall finish, and gives them that painted-on look.
Cut out the decals individually and handle them one at a time. Don't soak the entire sheet at once — there are too many ways that can go wrong.
Place each decal in the water for a few seconds until the paper is saturated, then set it aside on a flat surface until the decal begins to loosen. If you're using Micro Set, apply it to the model surface now with a brush. Be aware that it makes positioning trickier, so try to get the decal close to its final position before it touches down. Slide the decal off the paper and onto the model, holding the paper against the surface and carefully transferring it across.
Adjust the position with a scalpel — fingers tend to pick the decal up rather than move it, and cotton buds can be similarly unhelpful with smaller decals. If it gets stuck in the wrong place, a few drops of water will free it up again.
Once in position, dab firmly, but carefully, with a stiff brush to force out any air bubbles from underneath — pay particular attention to any transparent areas of the decal, where trapped air will be most visible.
If the decal needs to conform to panel lines or other surface detail, this is where Micro Sol comes in. Make sure the decal is exactly where you want it, then apply Micro Sol with a brush and leave it. It will partially dissolve the decal, allowing it to sink into the surface detail. If one application isn't enough, repeat — but work gently and one step at a time. Overdoing it will cause the decal to come apart.
Finally, once all decals are in place and fully dry, seal everything with a coat of varnish. This protects the decals, ties them into the overall finish, and gives them that painted-on look.
A last note
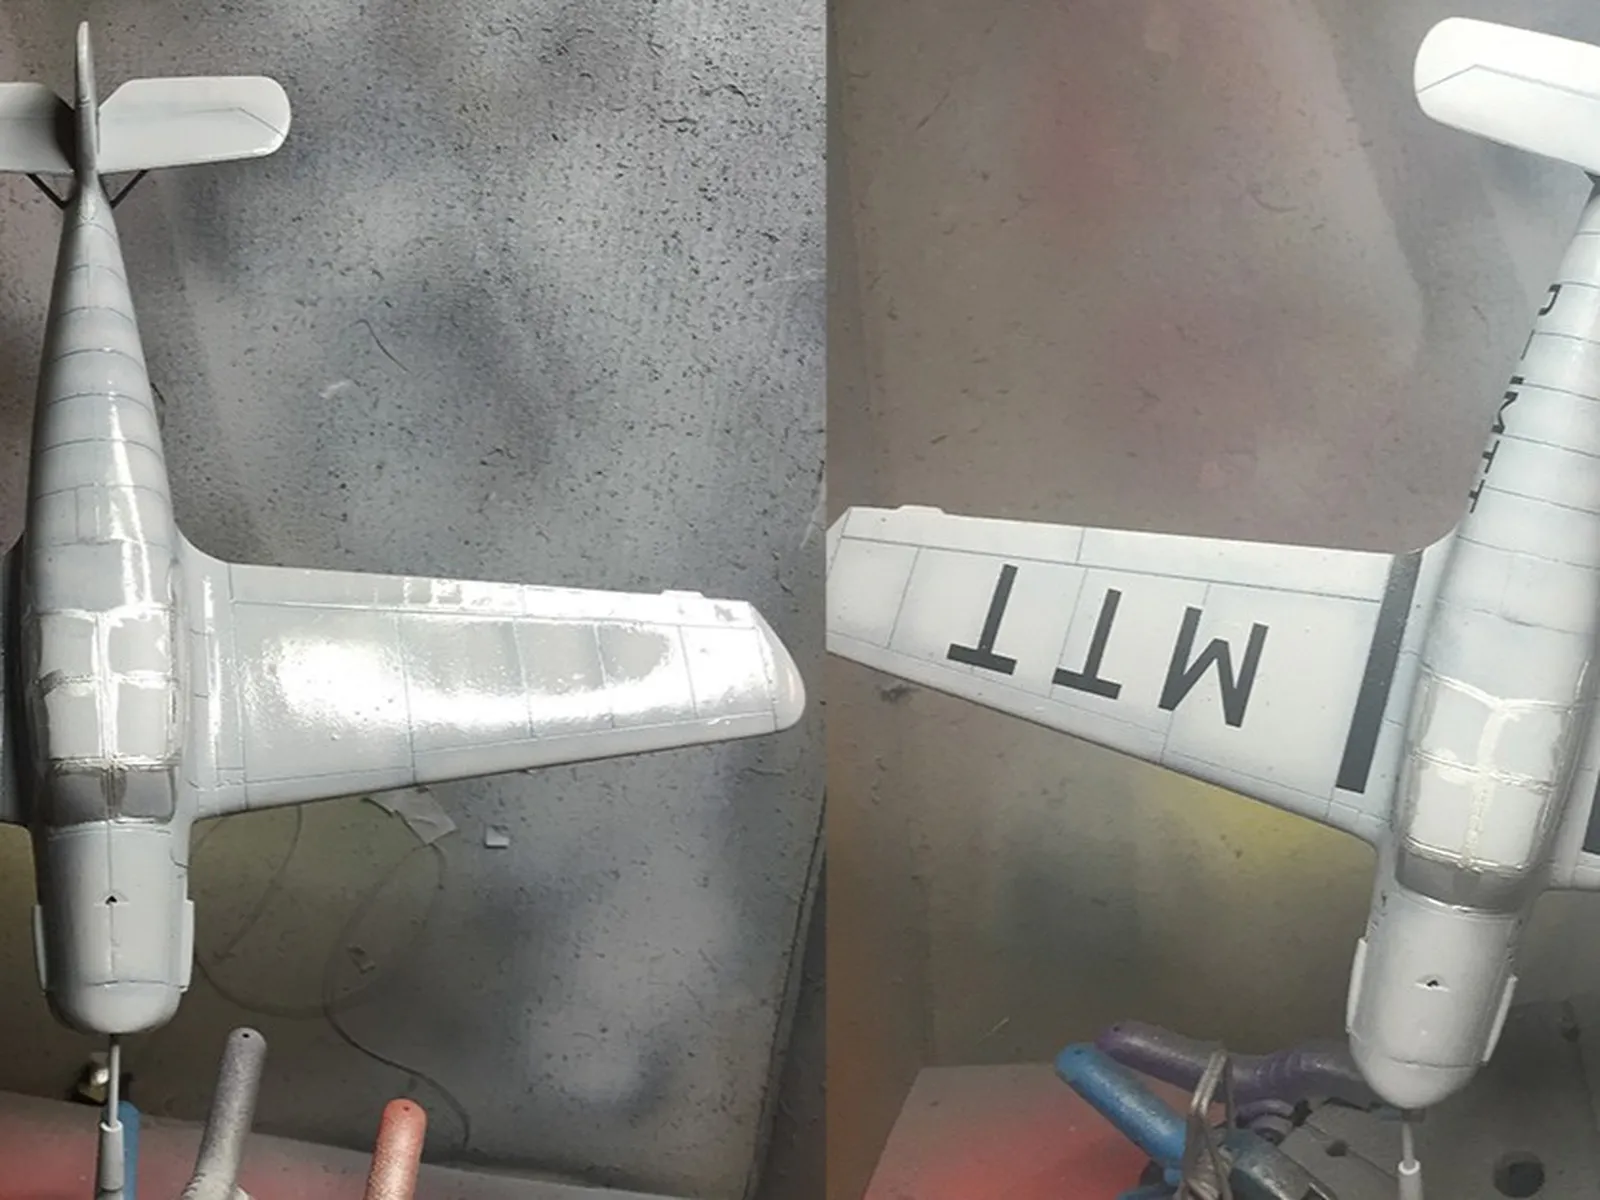
Lately I've started experimenting with paint masks as an alternative to decals for some markings. After market masks are available for a growing range of subjects, and they make particular sense where the surface is challenging — a curved fuselage or a complex compound shape where decals struggle to lie flat.
They're more demanding than decals. Getting them positioned correctly takes patience, and working through multiple colours means repeated masking and unmasking. But the result — paint applied directly to the surface, conforming perfectly to every contour — is hard to argue with.
They're more demanding than decals. Getting them positioned correctly takes patience, and working through multiple colours means repeated masking and unmasking. But the result — paint applied directly to the surface, conforming perfectly to every contour — is hard to argue with.