No kit goes together perfectly. Gaps, seams and the occasional disaster are part of the process — here’s how to make them disappear.
Fill ‘er Up
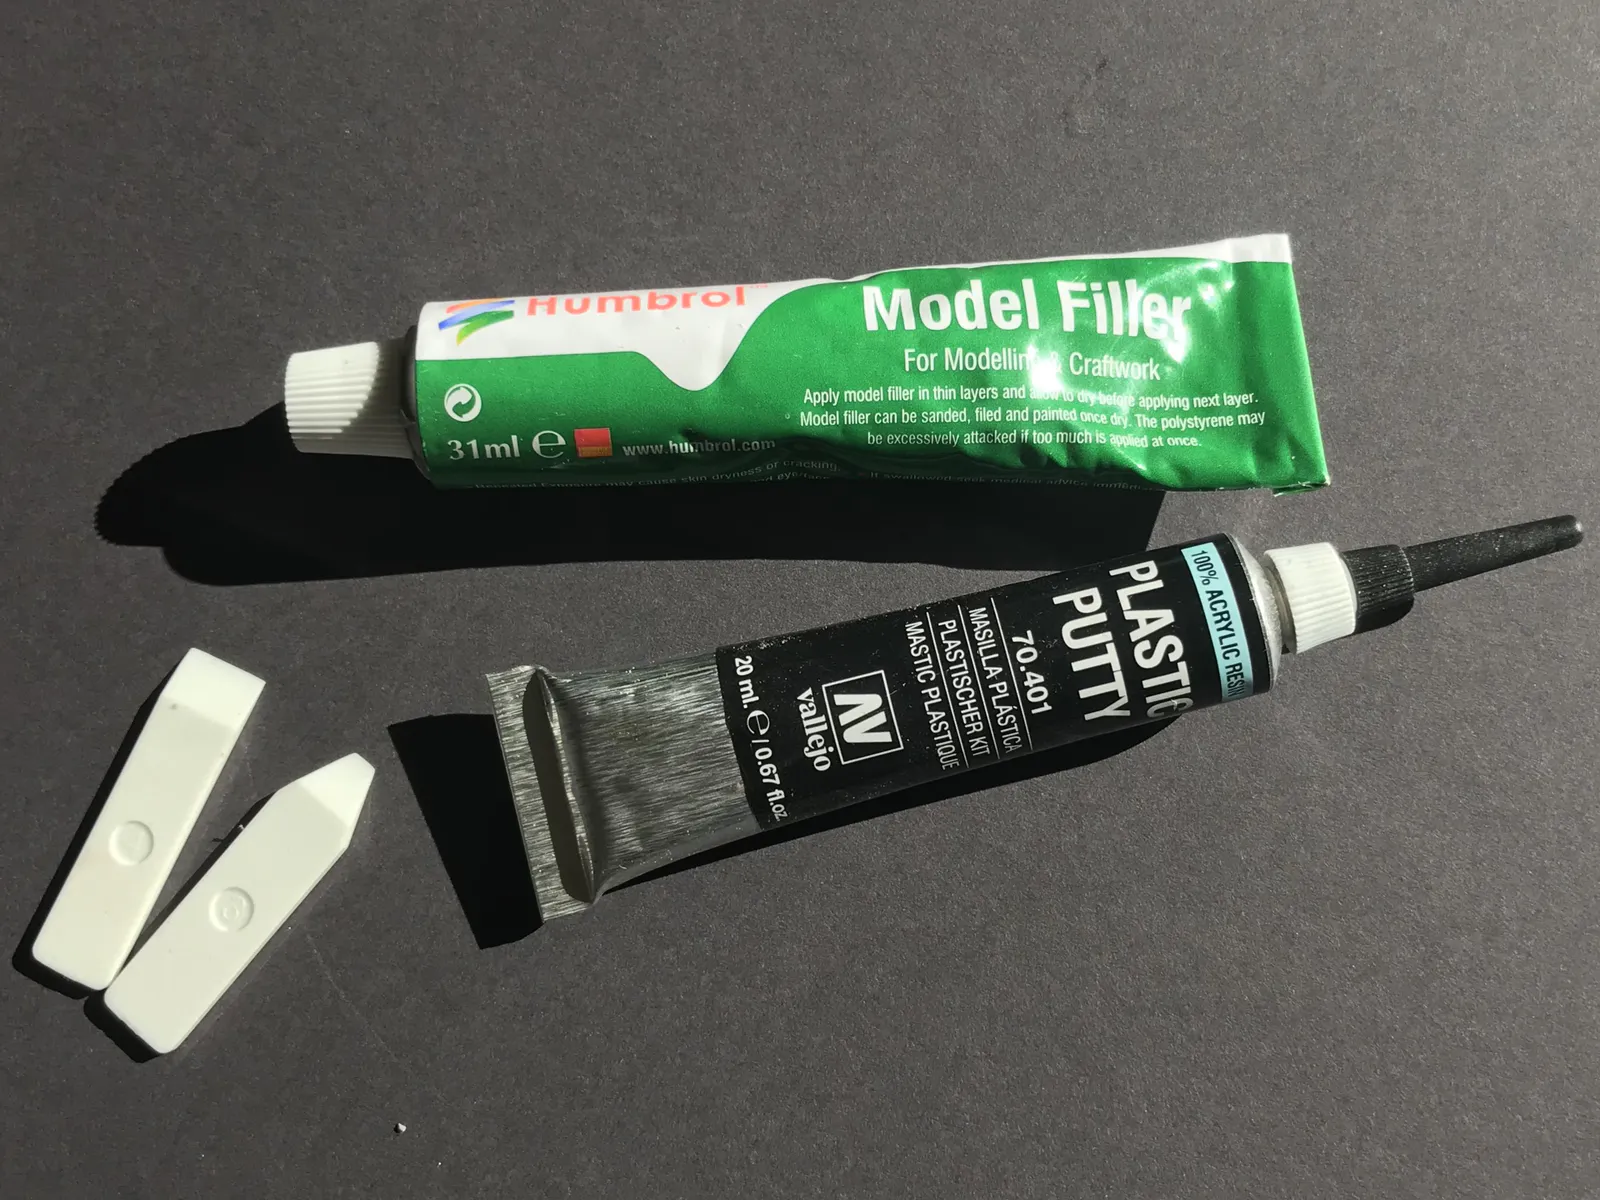
The putty
There's a lot of putty out there and it can be hard to know where to start. I use two kinds. The first is standard modelling putty — in my case from Tamiya or Humbrol — which is good for filling larger gaps or building up areas where needed. The important thing with these is patience: it can be tempting to start working on it when the surface feels hard, only to find it's still soft underneath. Leave it for a full day to be safe.
The second is Vallejo's Plastic Putty, which is slightly runnier and comes with a fine nozzle for applying it in controlled strings. It's perfect for seeping into smaller gaps along joints. You can use it for larger areas too, but where it really earns its place is in those tight seams where standard putty is hard to get into.
The second is Vallejo's Plastic Putty, which is slightly runnier and comes with a fine nozzle for applying it in controlled strings. It's perfect for seeping into smaller gaps along joints. You can use it for larger areas too, but where it really earns its place is in those tight seams where standard putty is hard to get into.
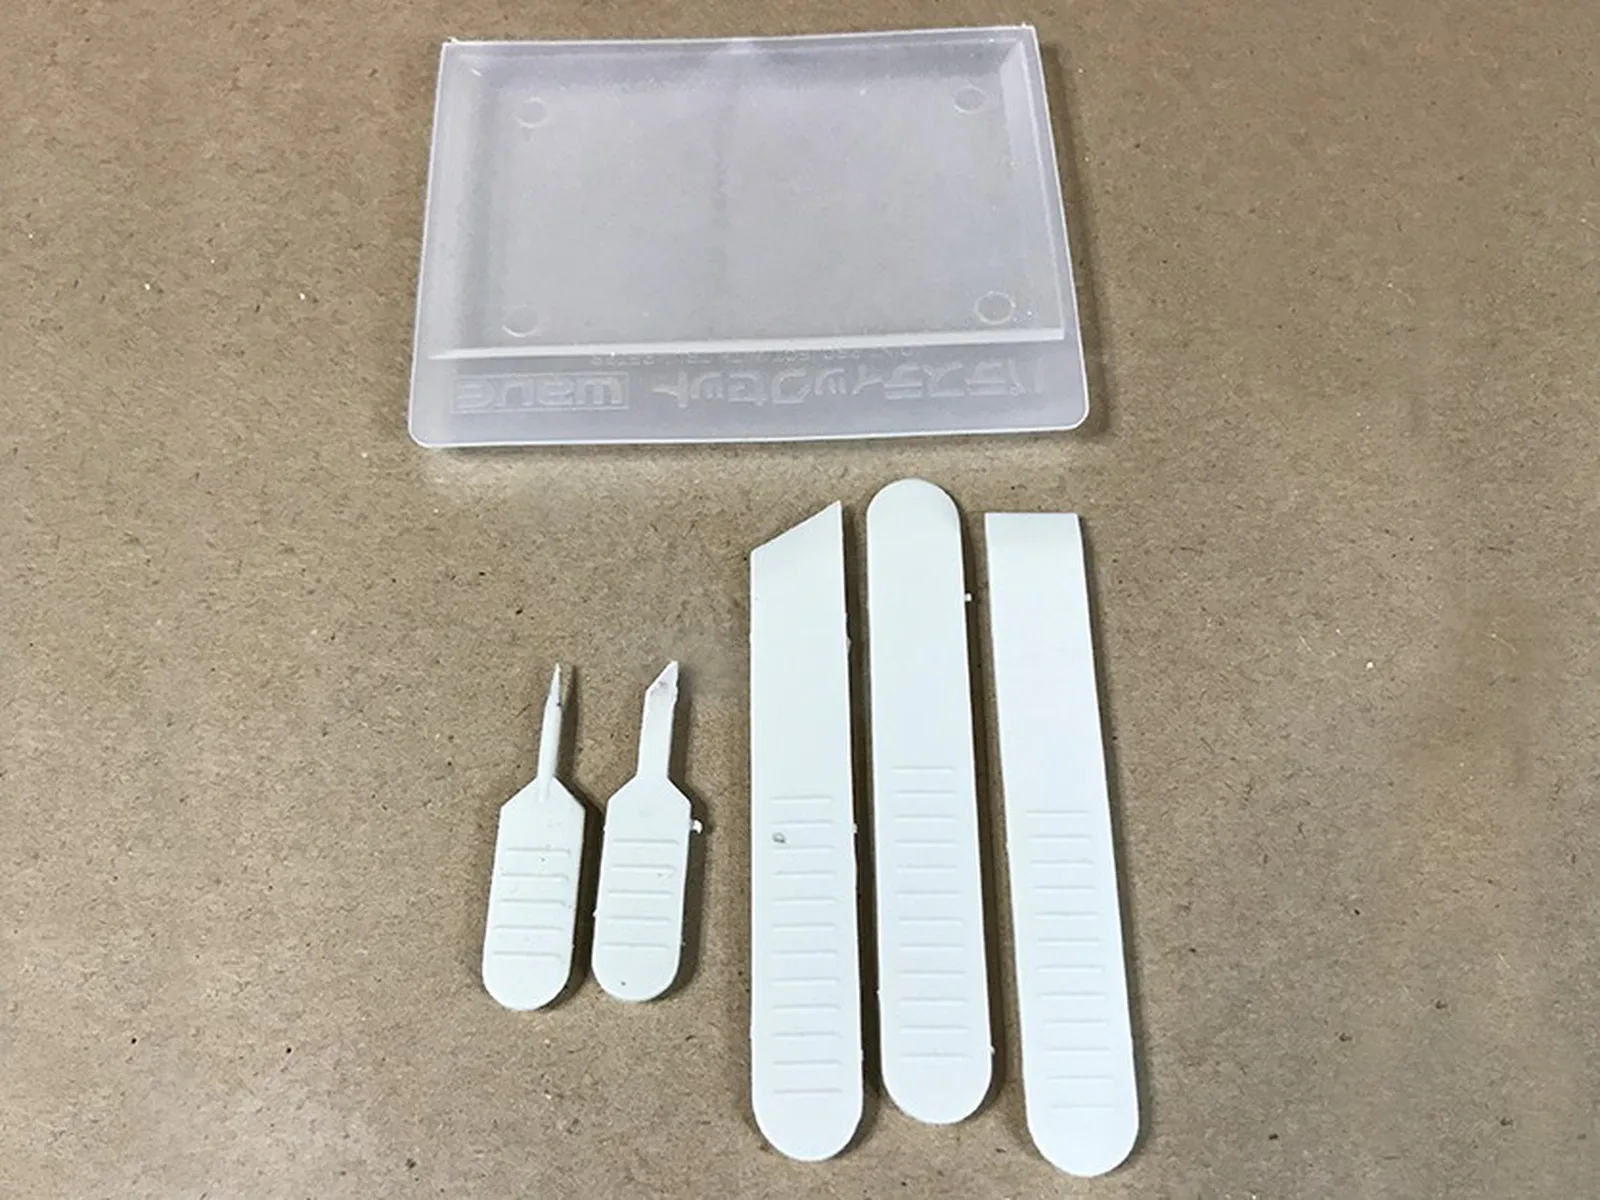
The tools
Putty can be worked with all kinds of things, but a tray to hold it and a set of differently shaped trowels are what I keep coming back to. Mine are made of soft, flexible plastic, which makes them easy to clean after use and gentle enough not to damage surrounding surfaces.
The when and how
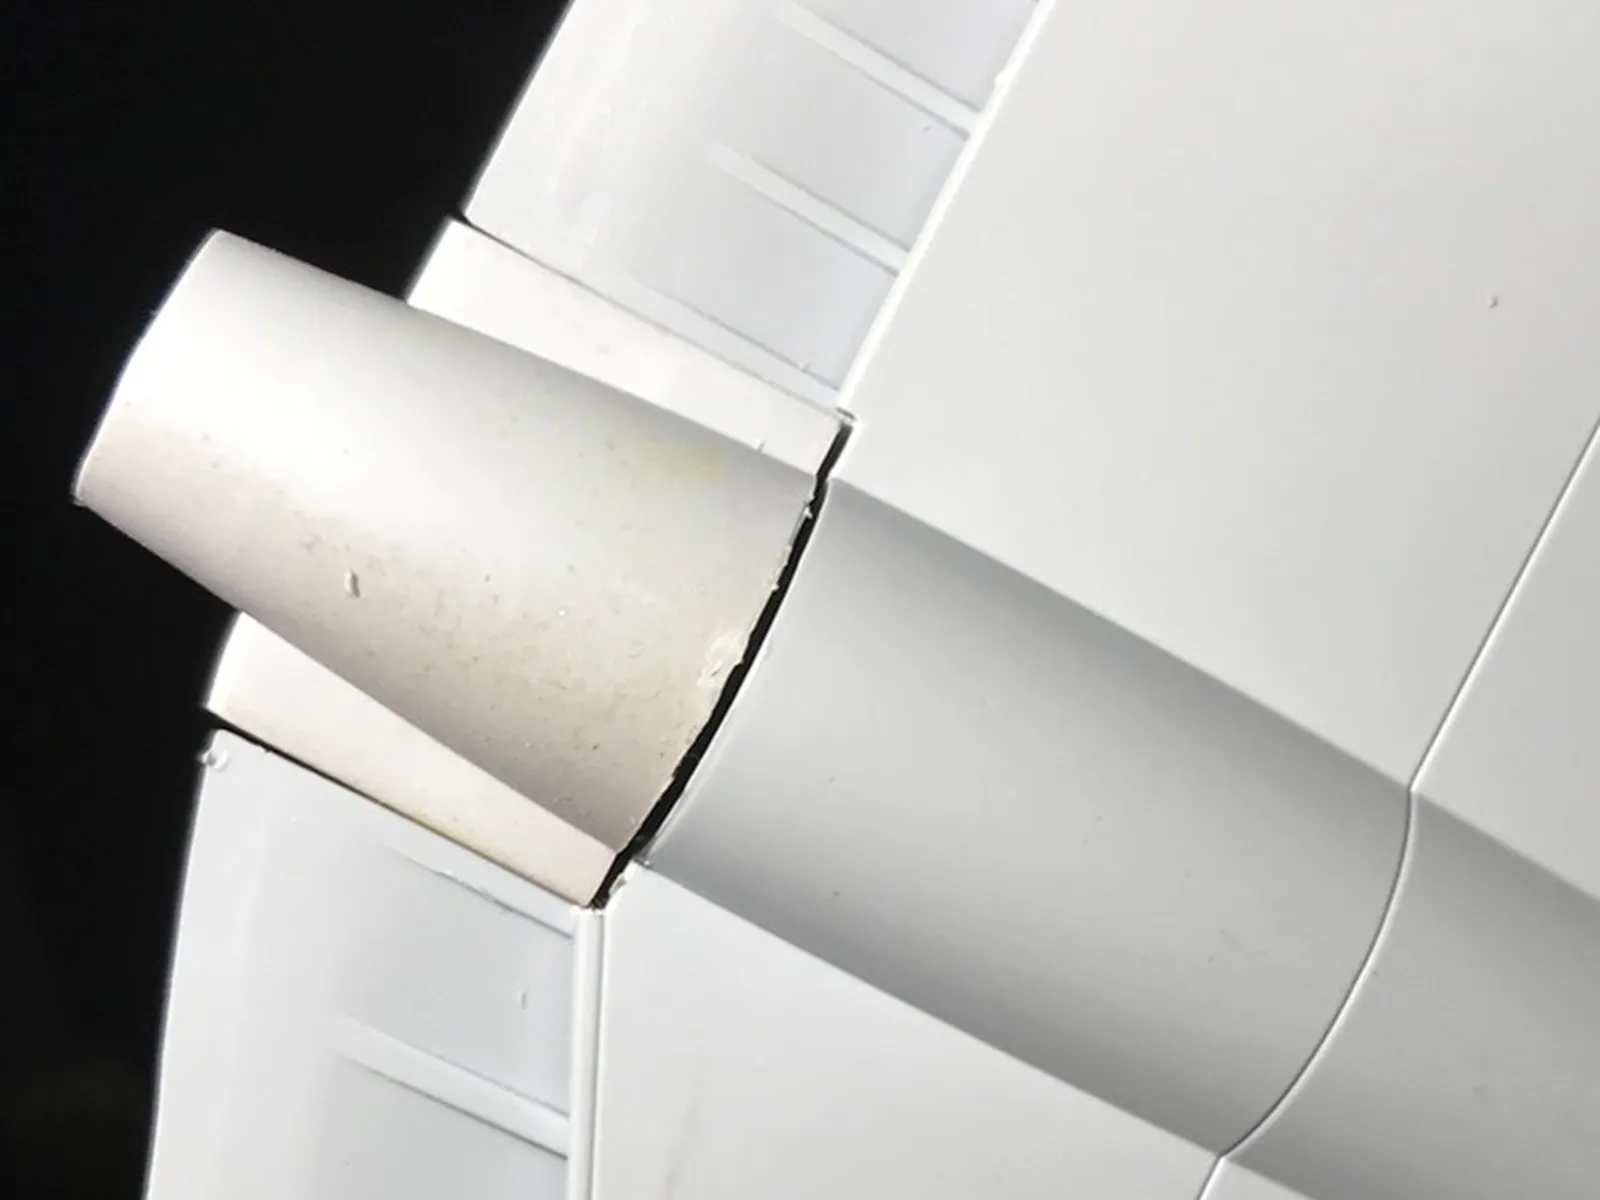
Gaps in joints are inevitable, and if you don't deal with them they'll ruin an otherwise well-built model. So deal with them.
For larger gaps, fill generously — it's always better to apply a little too much and sand it back than to underfill and have to go again. Try to keep it close to the area that needs fixing though, as there's no point creating extra work on surfaces that are already good. Work the putty in properly, making sure it penetrates the gap and that there are no air bubbles. Then leave it alone for a day or two.
When it's fully hardened, start with a file or sanding block to bring down the surface, then work through progressively finer grits until it matches the surrounding plastic. A coat of primer over the area will quickly show up anything you've missed. Keep going until you're satisfied.
The last step is to restore any panel lines or rivet detail that got filled or sanded away. Use a dull needle and, for straight lines, run it along the edge of a piece of tape to keep it true.
For smaller gaps along panel lines, Vallejo's Plastic Putty is the better choice. Apply a thin string along the gap and wipe away the excess with a damp cloth before it dries.
The examples
Sometimes putty goes beyond gap-filling. If a kit is significantly out of shape, or if you're building a conversion that requires changing the profile of a part, you may need to build up structure from scratch.
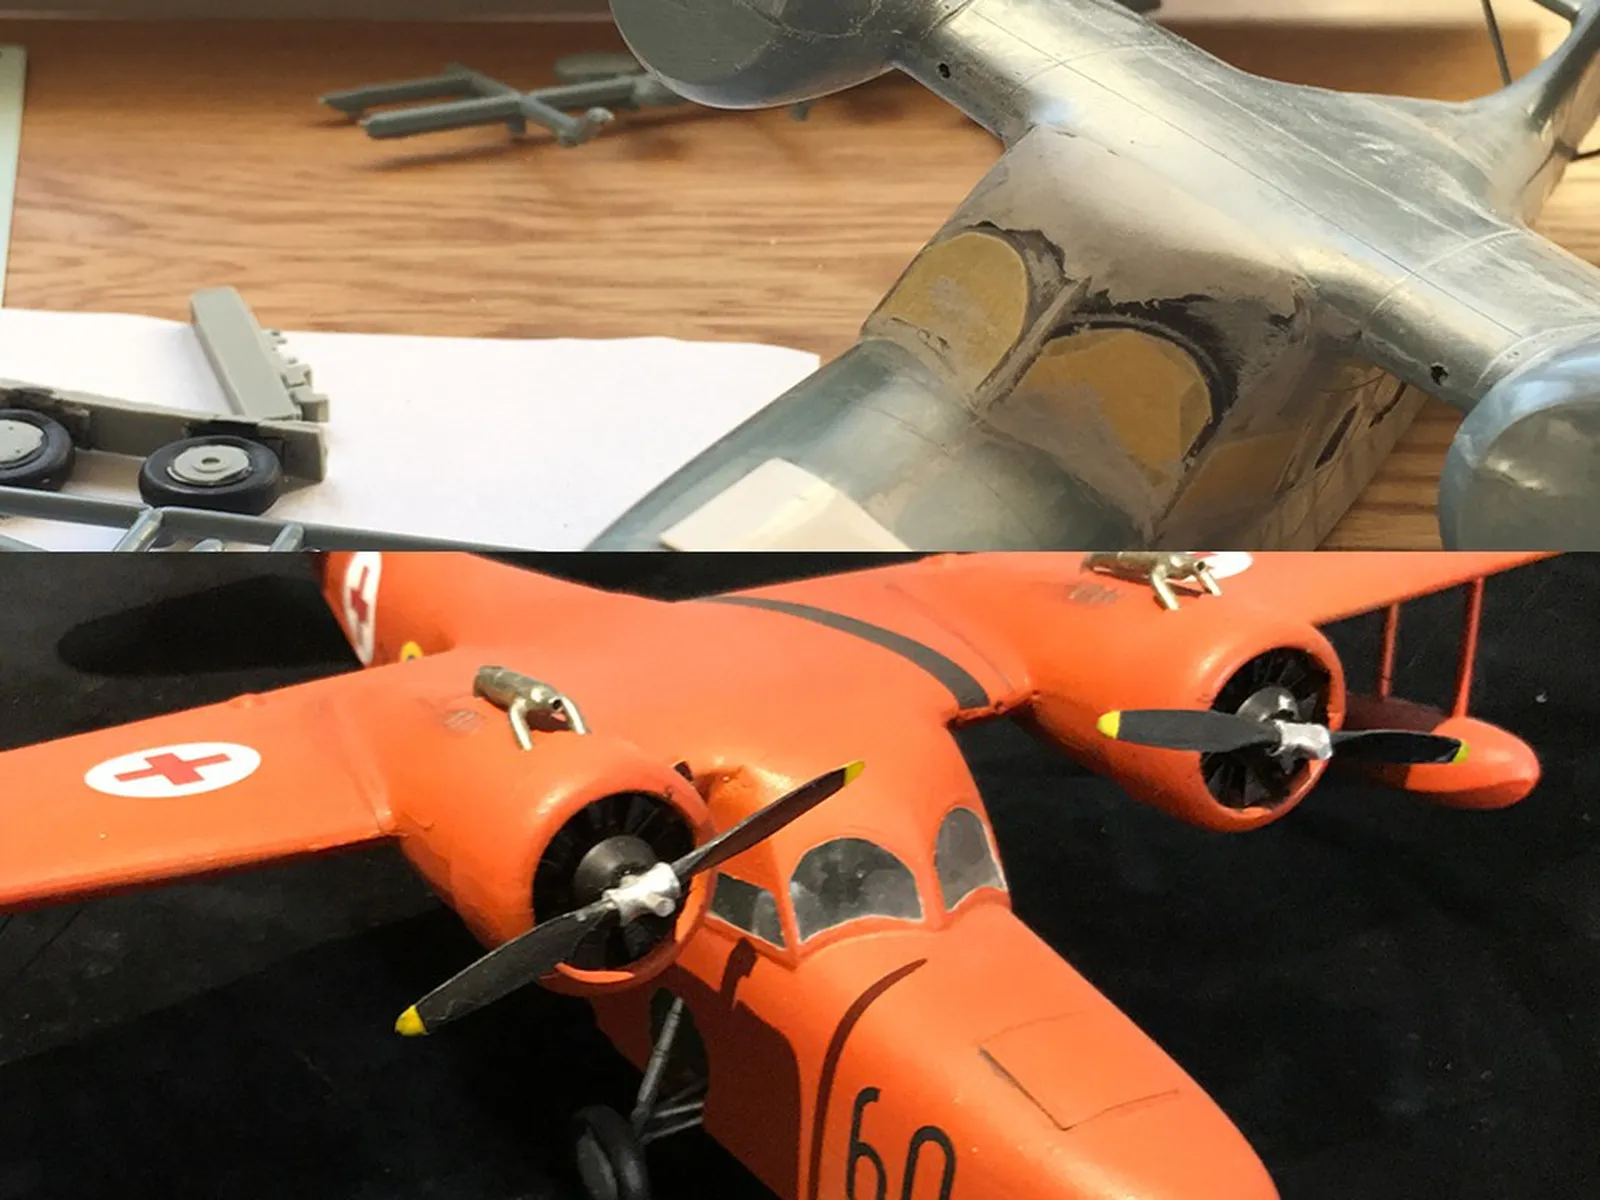
One example from my own bench: the canopy of a Grumman Goose was several millimetres too short, leaving a visible gap where it met the surrounding fuselage. The only solution was to build it up with putty and sand it back to the right profile.
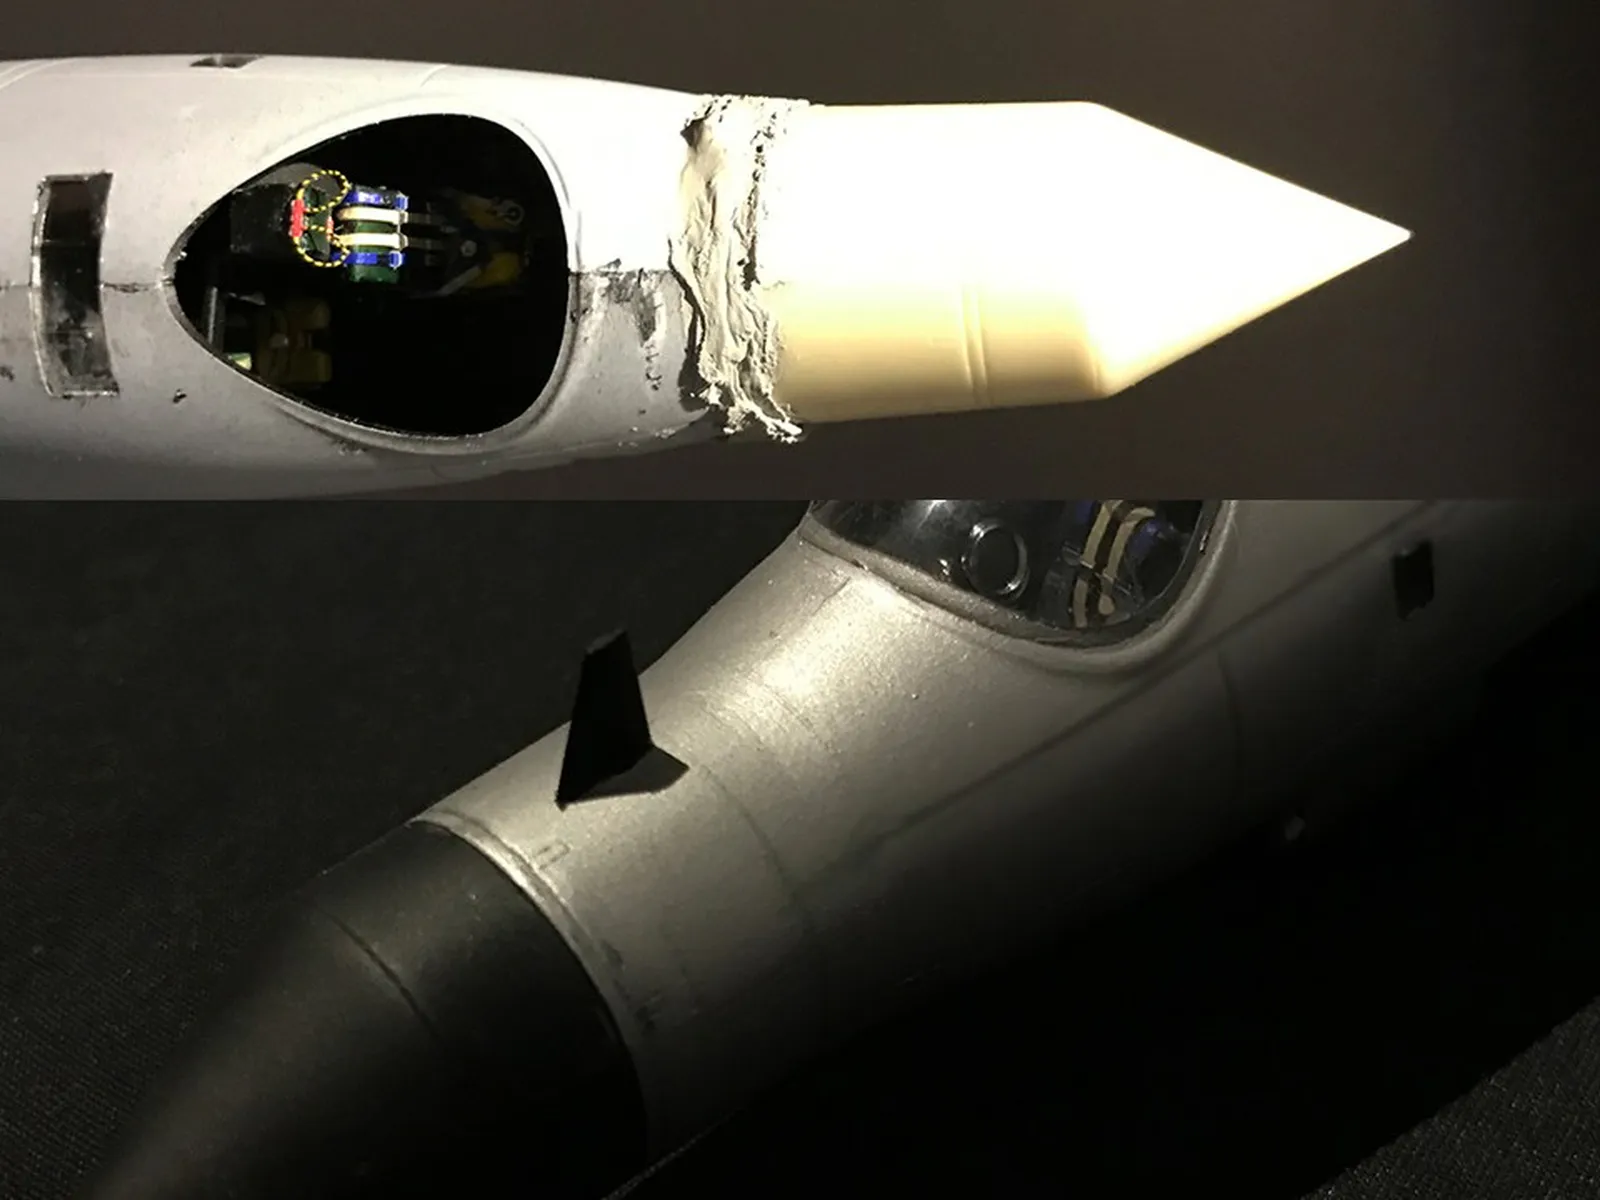
Another was a Canberra where I fitted an aftermarket nose cone to model a variant used by the Swedish Air Force. Cutting away the original nose and grafting on the new one left all kinds of gaps and mismatches — a generous application of putty, followed by careful filing and sanding, brought it back to a smooth, seamless finish.
One example from my own bench: the canopy of a Grumman Goose was several millimetres too short, leaving a visible gap where it met the surrounding fuselage. The only solution was to build it up with putty and sand it back to the right profile.
Another was a Canberra where I fitted an aftermarket nose cone to model a variant used by the Swedish Air Force. Cutting away the original nose and grafting on the new one left all kinds of gaps and mismatches — a generous application of putty, followed by careful filing and sanding, brought it back to a smooth, seamless finish.